


WarbirdsNews has received the latest XP-82 Twin Mustang restoration update from Tom Reilly at his workshop in Douglas, Georgia. We thought you’d enjoy seeing what they’ve been up to! Click the jump to find out more…
Fuselages
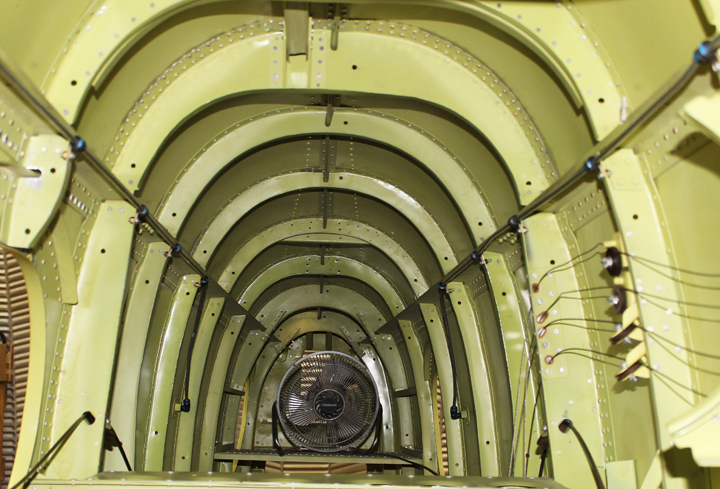
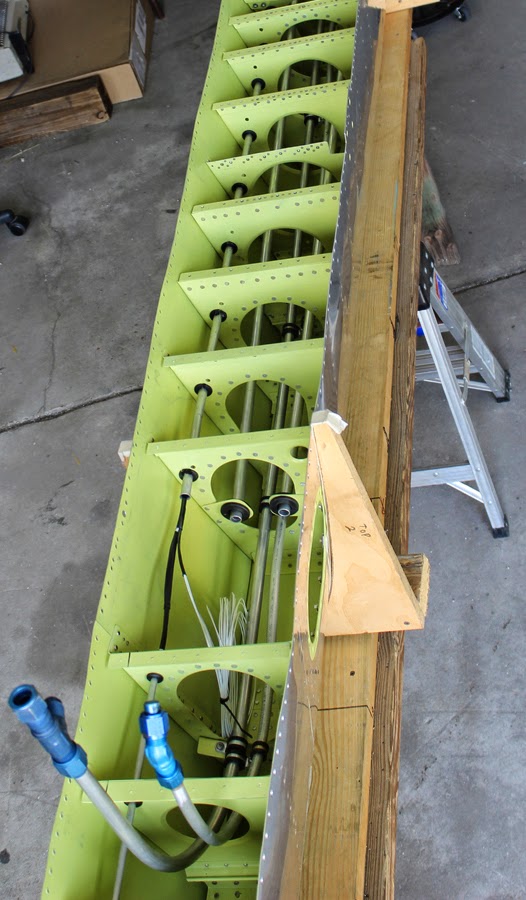
The team is close to completing the hydraulic and instrumentation lines for the two fuselages. There is a massive tangle of these lines running through the center section up through the floors and to both instrument panels. Along with this multitude of aluminum tubing, the team has been synchronizing all of the levers on both throttle and propeller quadrants. The static lines (neutral air pressure) are now fully installed, and the lines run to three locations; two in the left and one in the right fuselage.
The hydraulic lines under the pilot’s floorboards that run among the coolant tubes have been difficult to reinstall in exactly the same way the prototype had them. In production airplanes, they ran in a much more logical order, not that duplicating the original has caused any problems the restoration team were unable to overcome.
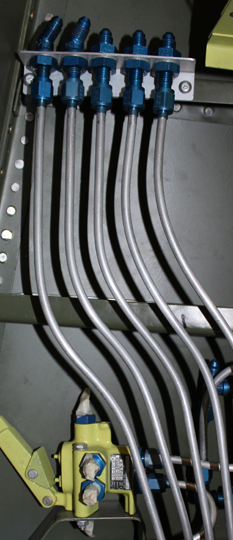
The team has also completed all of the flap hydraulic lines that run from the center section’s trailing edge and attach to the flap hydraulic cylinders that are mounted on top of the center section underneath both fuselages. The flap lines run from the flap hydraulic selector that is mounted aft of the left-hand center section wheel well to the center of the gun bay, then aft to the rear of the center spar. They then split and two lines on each side run out to the retract cylinders that mount to the underside of both left and right fuselages.
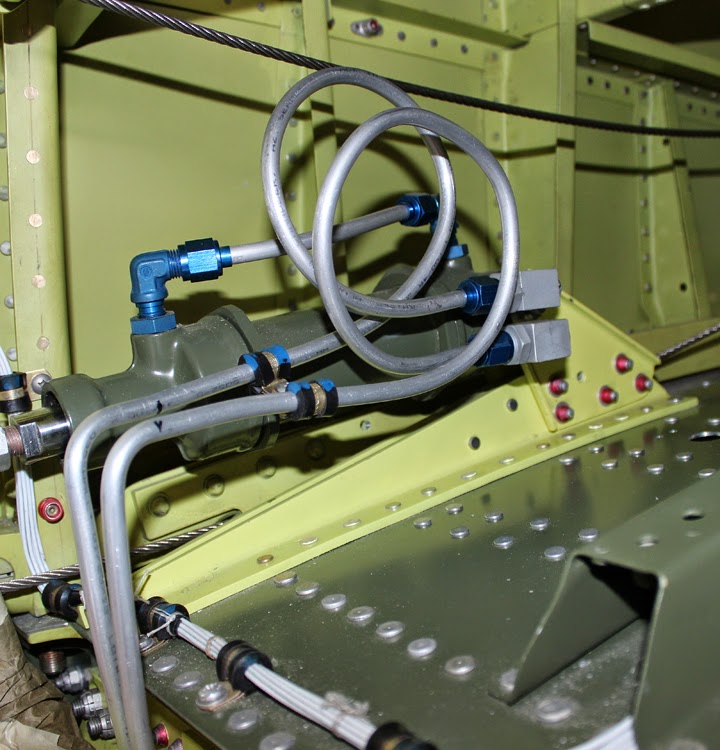
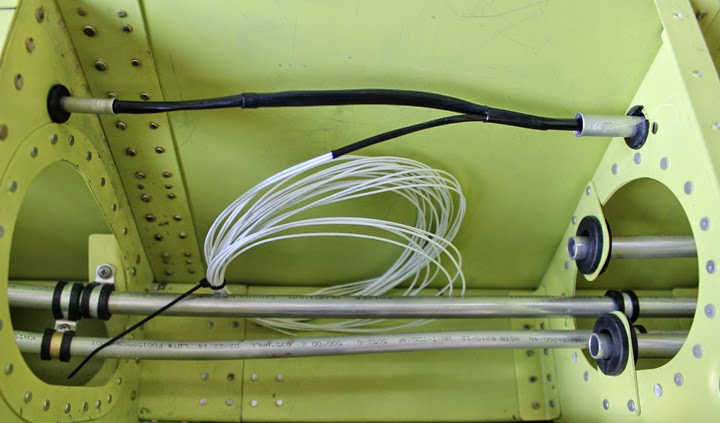
North American Aviation had a unique way of installing flexible lines on both the two main retract cylinders and the two flap cylinders. Instead of having a swivel joint, they just bent the hydraulic line(s) in a 360 or 720 degree flex circle, depending upon the amount of flexure that each cylinder would exert on the line.
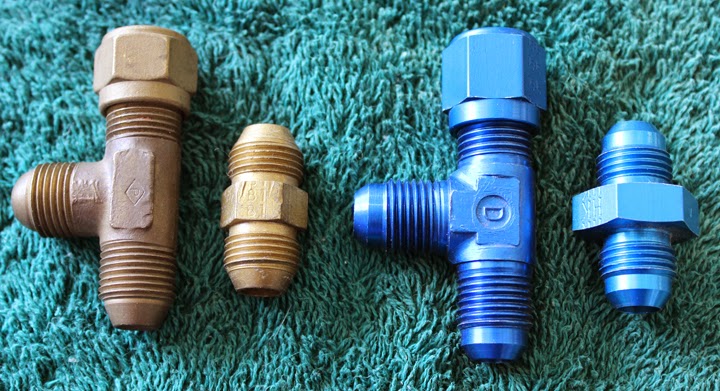
Reilly mentioned that there have been questions on the XP-82 website and Facebook page asking why they are using AN fittings. This is because for the XP-82 and all subsequent production versions of the F-82, North American used all AN fittings, replacing the Curtiss (A/C) fittings that the company used on all its previous products.
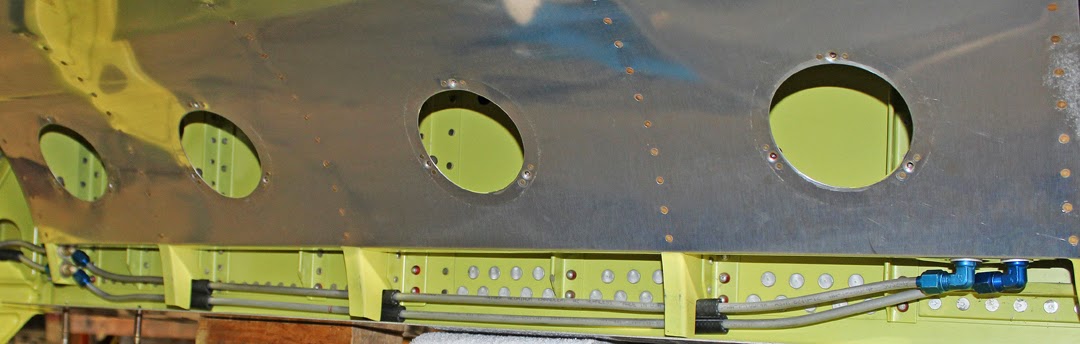
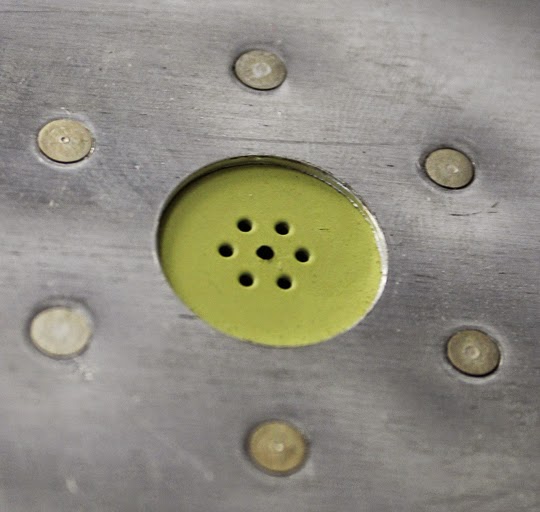
On the XP-82 Twin Mustang prototype, North American placed four static port holes in the fuselages during the development process to locate the optimal zero pressure area for installing the static ports on the production machines. Reilly’s group have duplicated these test static holes for the sake of originality.
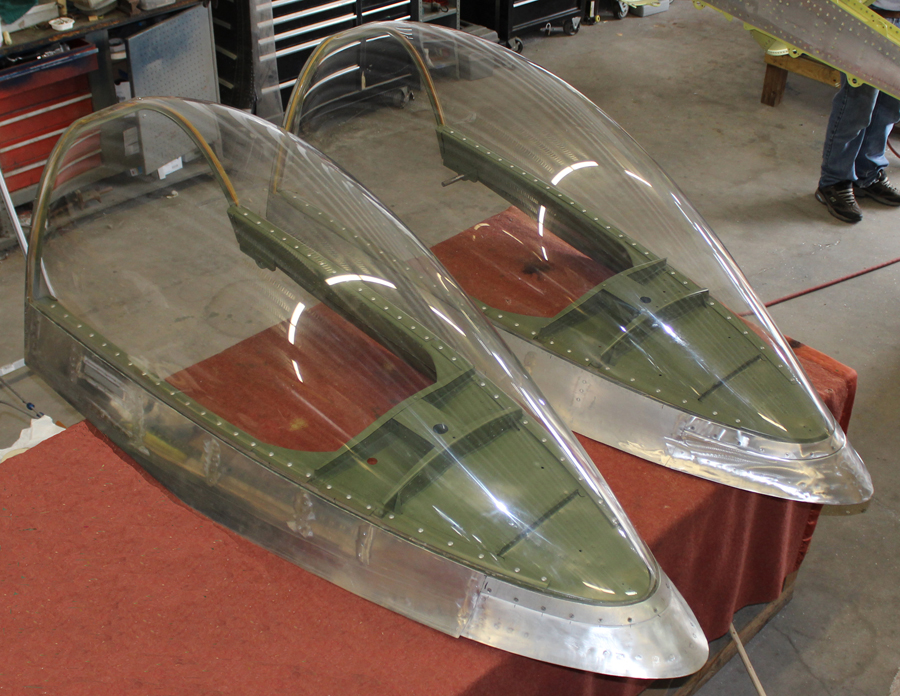
Canopies and Windshields
Both canopies are now totally finished, and all of the canopy trucks are completed and ready to be installed. The two glare shields (pilot and, copilot) and armor center windshield panels are also now complete and just awaiting the forming of the side glasses.

Wings
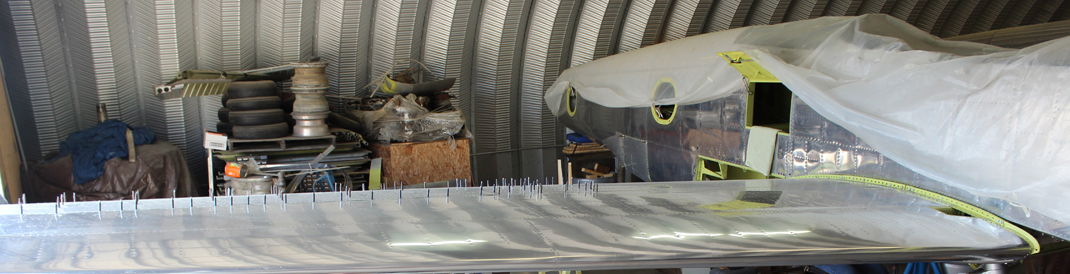
There has been just about a full team effort to complete the two outer wing panels. The team has finished the riveting for the leading edge sub-assembly, and installed all of the aluminum lines. These lines consist of electrical conduit tubes, aileron cable guidance tubes, pitot lines, drop tank pressure and return fuel feed tubes, boost pump, liquidometer, strobe, tip lights and pitot heat conduit tubes. The bottom inboard skins on the right hand wing are now completed awaiting the closeout panels.
Every top and bottom skin on the left-hand wing is now completed with all of the dimpling, counter-sinking and edge fitting. Also close to completion are the left-hand leading edge and the four top wing skins for the left-hand wing which are being riveted this week.
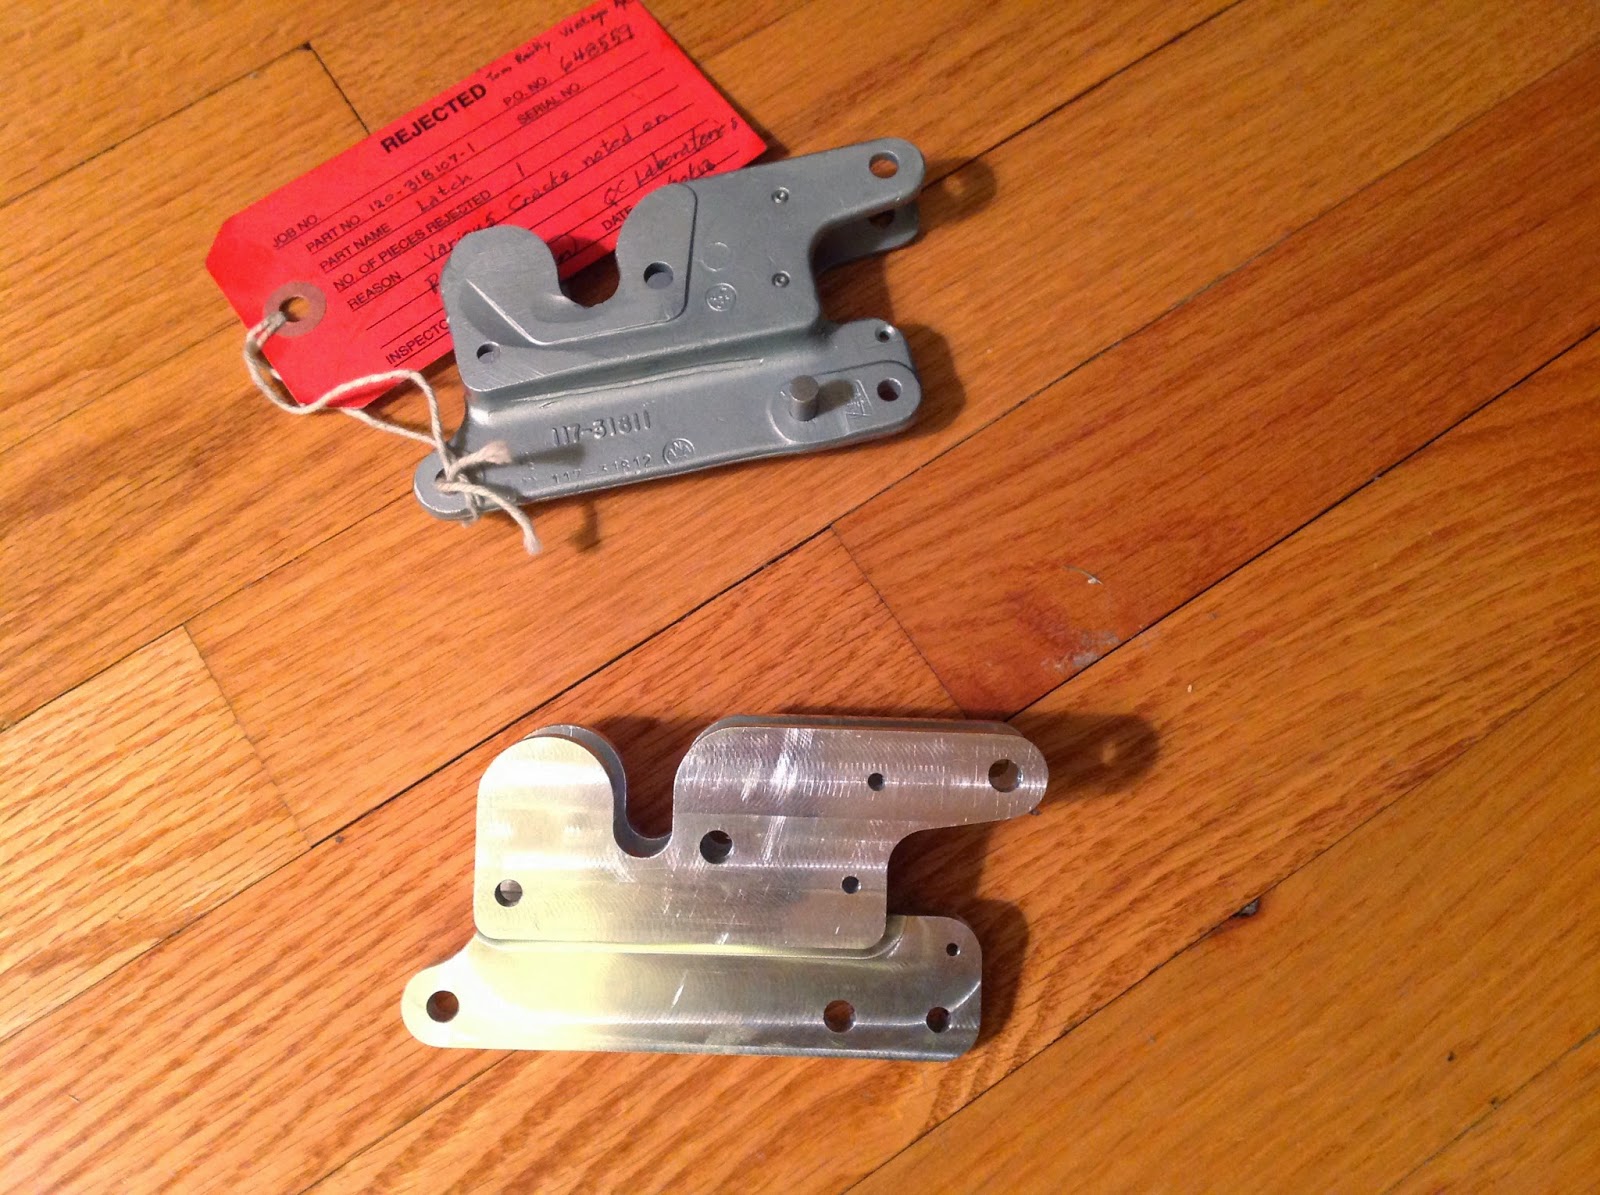
Subcontract Machine Shop
All of the aileron and flap hinges are well on their way to being completed, and the aileron sectors are also in process. The last large machine shop items to complete will be the four secondary engine mount structures. These pieces are shaped like a T platform and bolt to the Merlin engine mount pads. Although large, they are not complicated pieces to make.
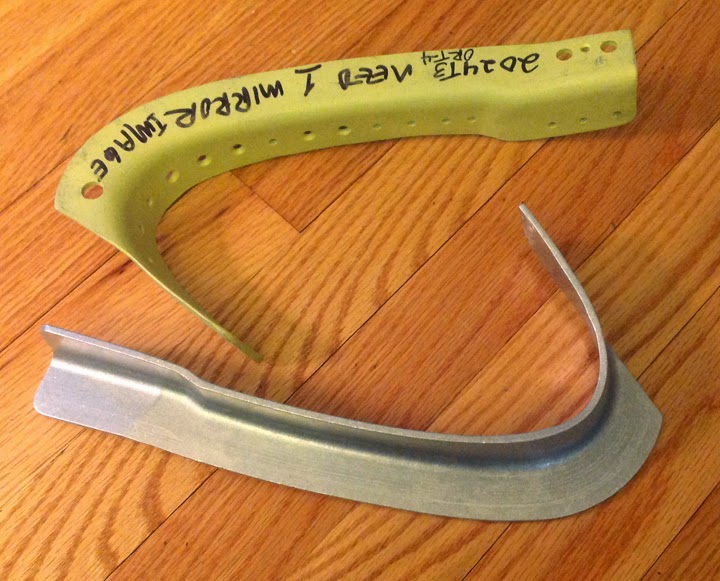
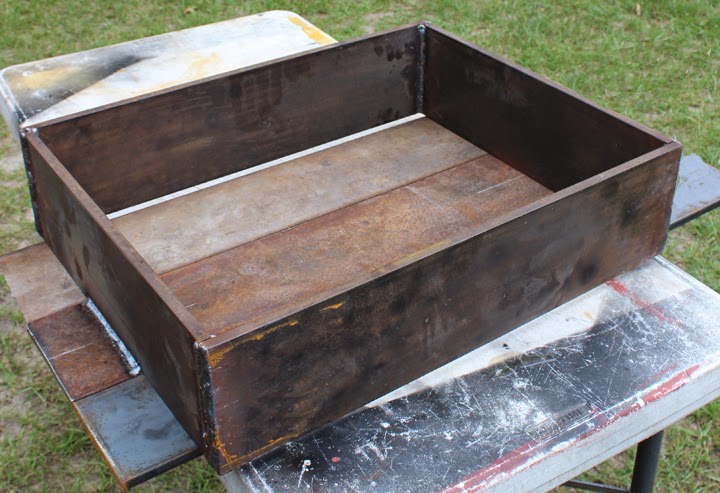
Firewall
The large epoxy-cast tooling mold that the restoration team made a couple of months ago is now completed with its 1⁄2” steel welded containment structure to support the bottom and sides. Pressing the stainless steel into the mold, will require over 200 tons of pressure, but with the 1⁄2” steel structure surrounding the epoxy mold, the hydraulic press will not shatter the epoxy.
And that’s all for this month. Many thanks again to Tom Reilly for the update! You can learn more about the project on their blog HERE. Please be sure to check back with WarbirdsNews in early July for the next installation following the XP-82′s road to recovery!
Please click HERE for some of our previous updates.
Editor’s note: All photos via Tom Reilly, with much thanks!
Be the first to comment
Graphic Design, Branding and Aviation Art