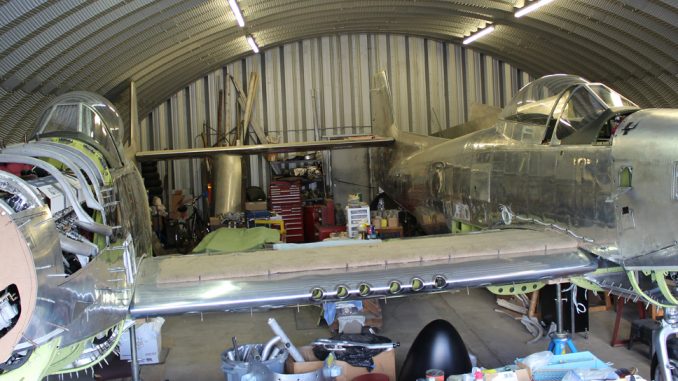
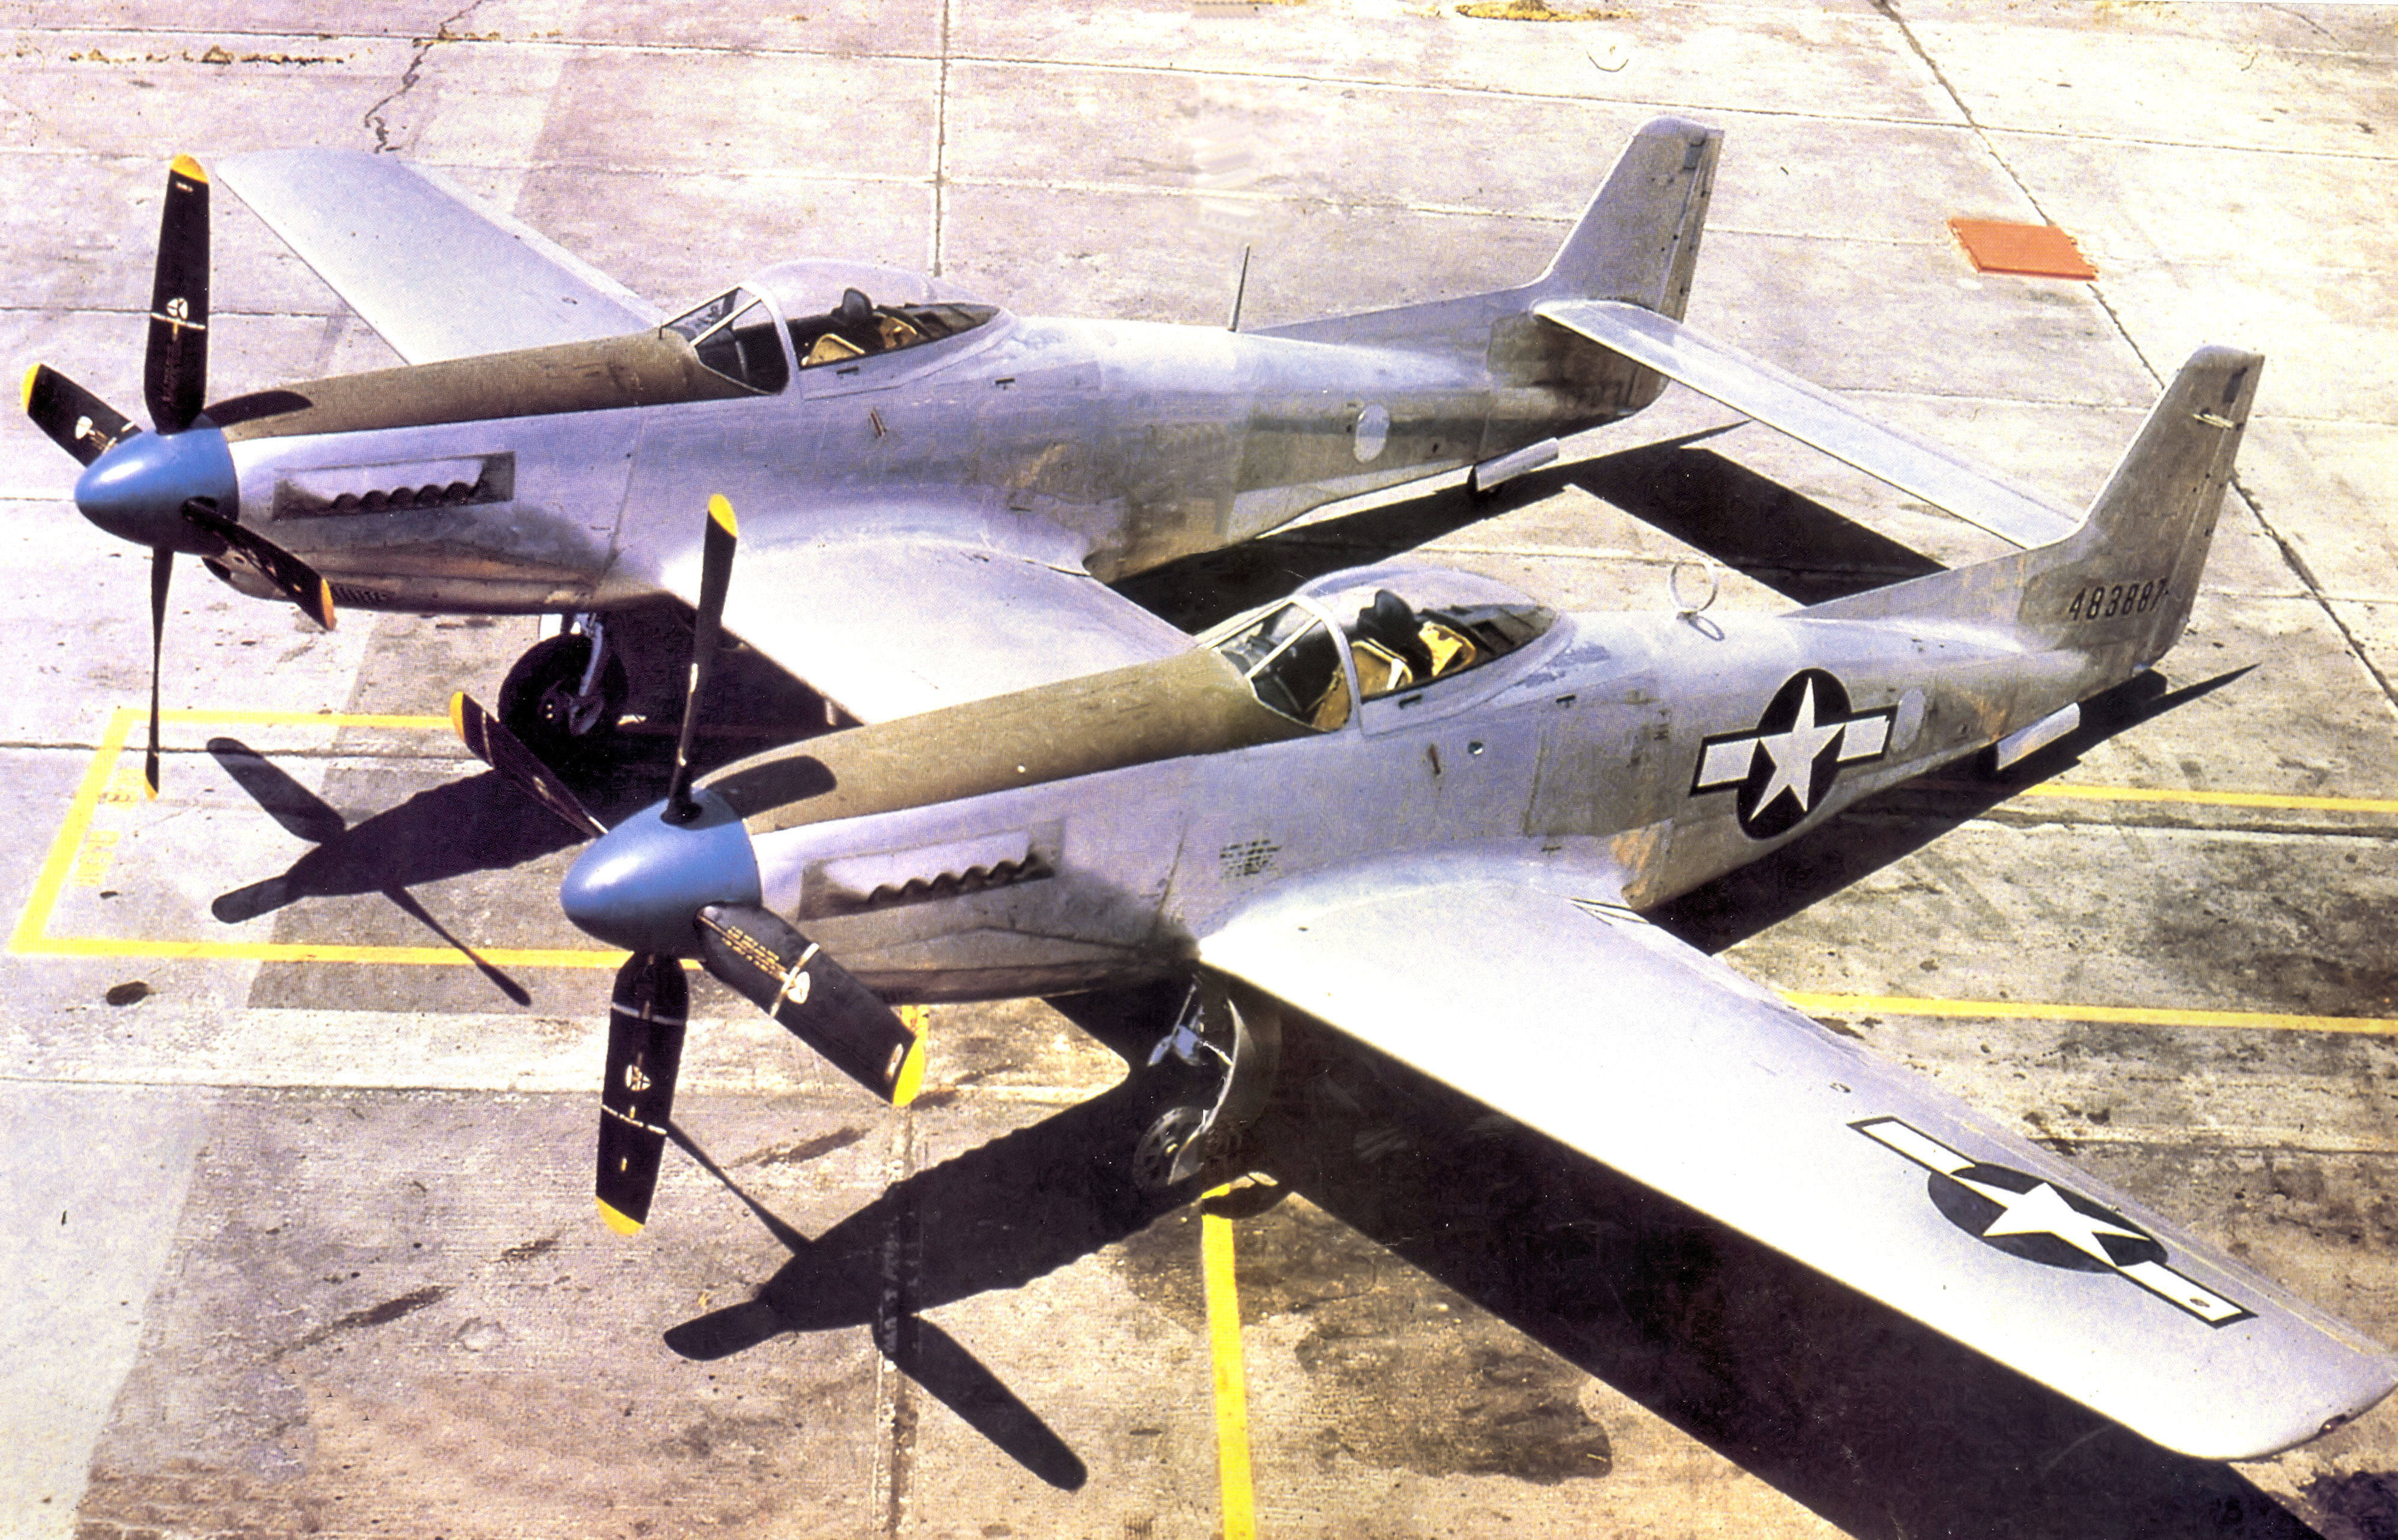
WarbirdsNews has received the latest XP-82 Twin Mustang restoration update from Tom Reilly at his workshop in Douglas, Georgia. Here’s what they’ve been up to this month!
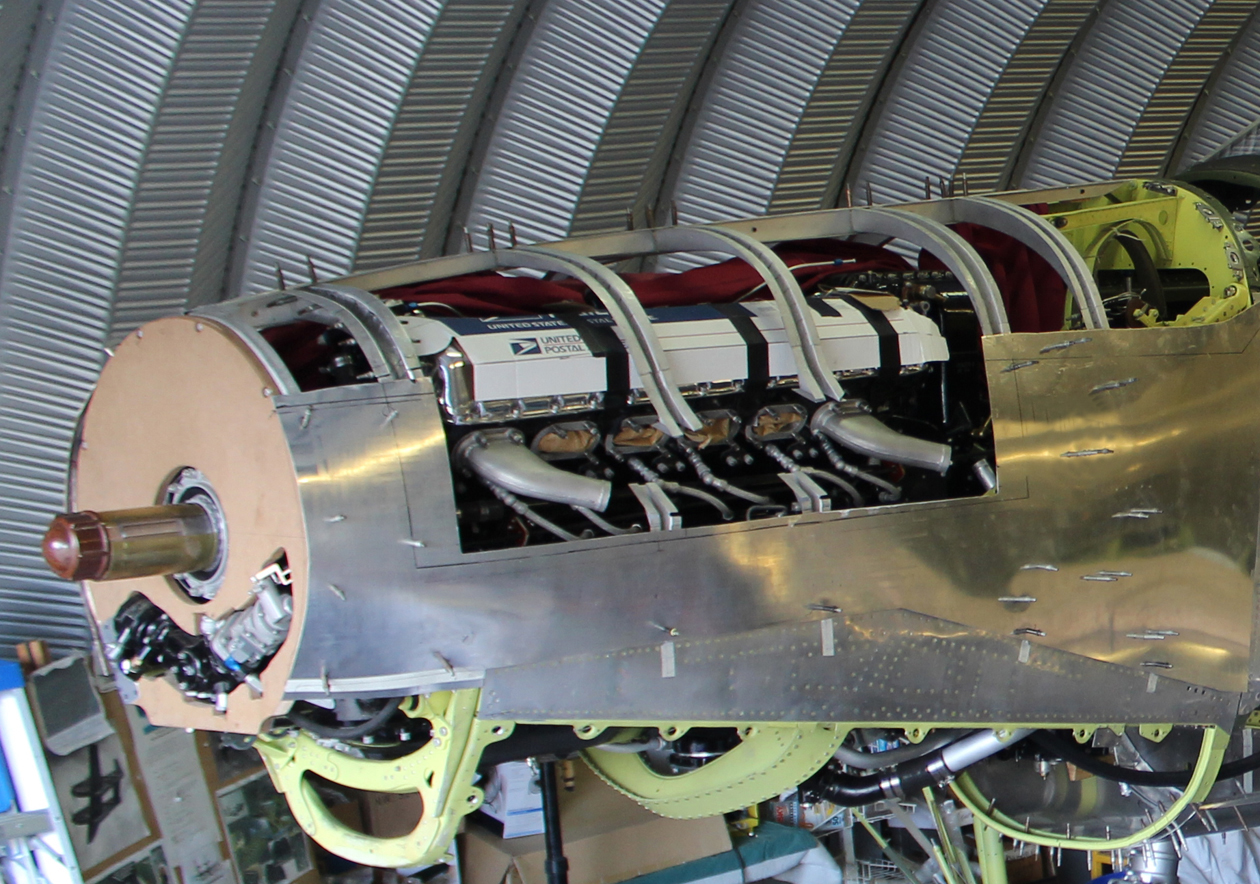
Firewall Forwards
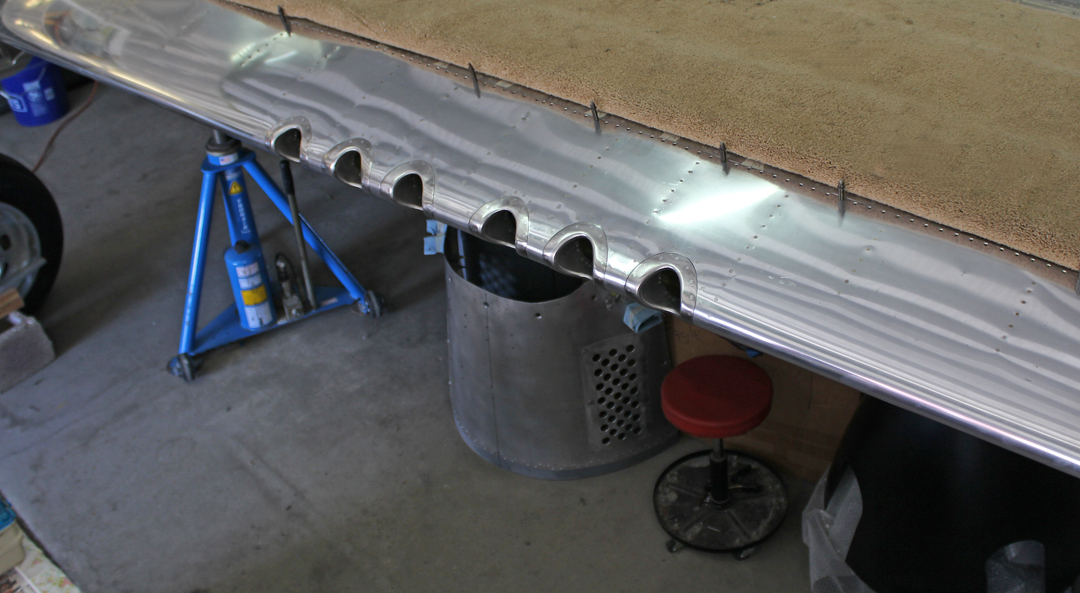
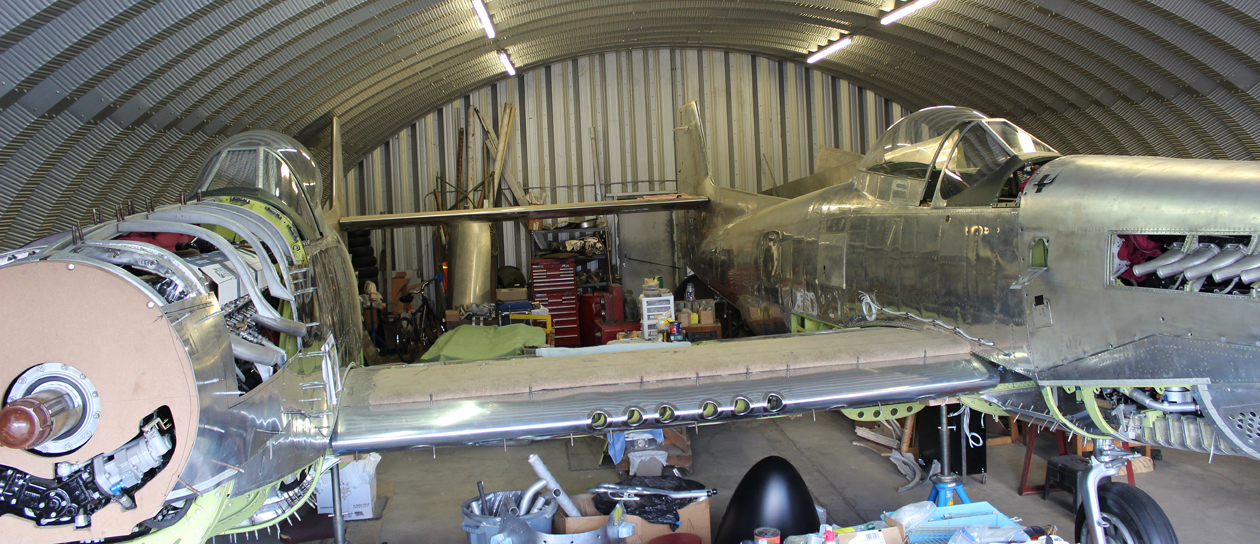
The team has been busy with the English-wheel, putting the finishing touches on the skins for the three lower cowls on each engine. They also completed the four filter door access panels located in the forward left and right sections of each lower forward cowling. The two original top cowls for the lefthand engine were in pretty tough shape… but, with countless hours spent addressing a multitude of small dings, scratches and the occasion hole and, many hours of English-wheel time, they came out virtually perfect.
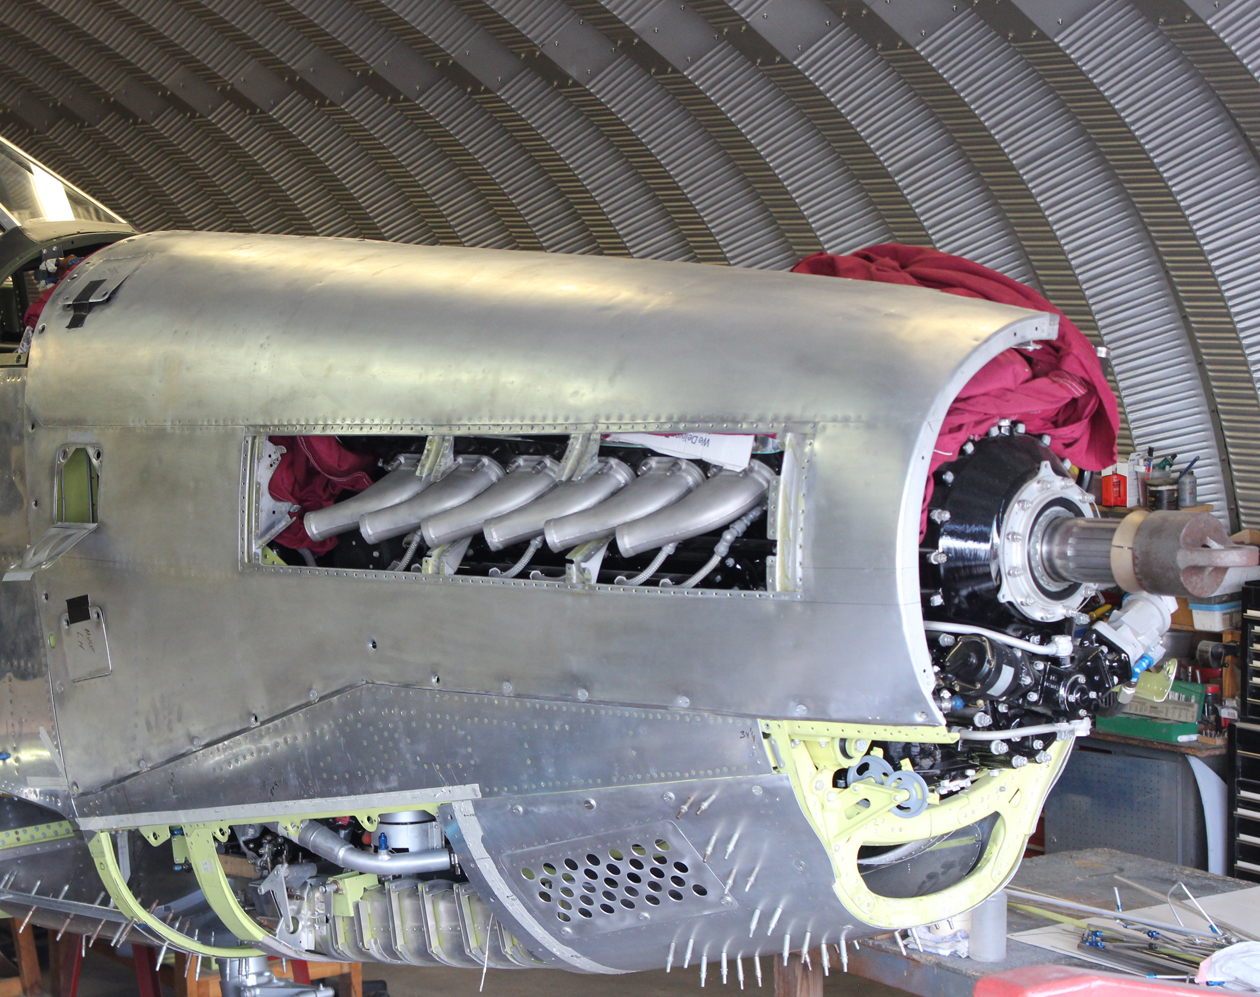
The team is wheeling-from-scratch the two right hand top cowl skins, each of which is three feet wide by almost eight feet long.
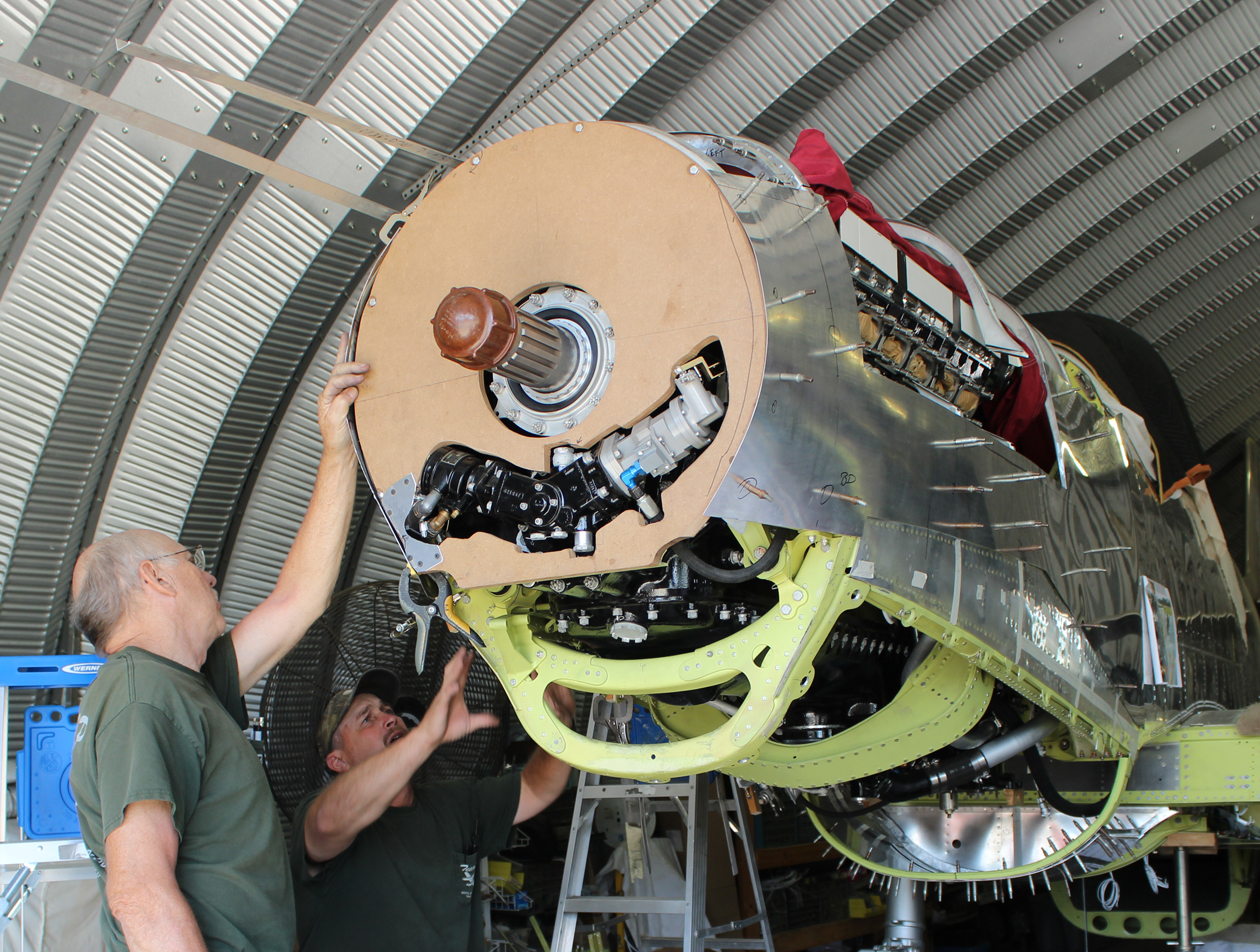
They also completed the two right hand, lower side, engine cowlings, the ones that surround the forward, lower and aft edges of the exhaust stack opening. These both required touches from the English-wheel where they curved in and around to match the circumference of the propellor spinner. All of the internal ribbing and structure for the right-hand engine cowling were completed a number of months ago. When the last of the wheeling for the two right-hand top cowls is finished, the team will spot-weld all of these components together. Welding of the 4130 steel, firewall forward throttle and propeller governor control rods is now finished and the parts are awaiting installation.
Carb Air Temperature Controllers
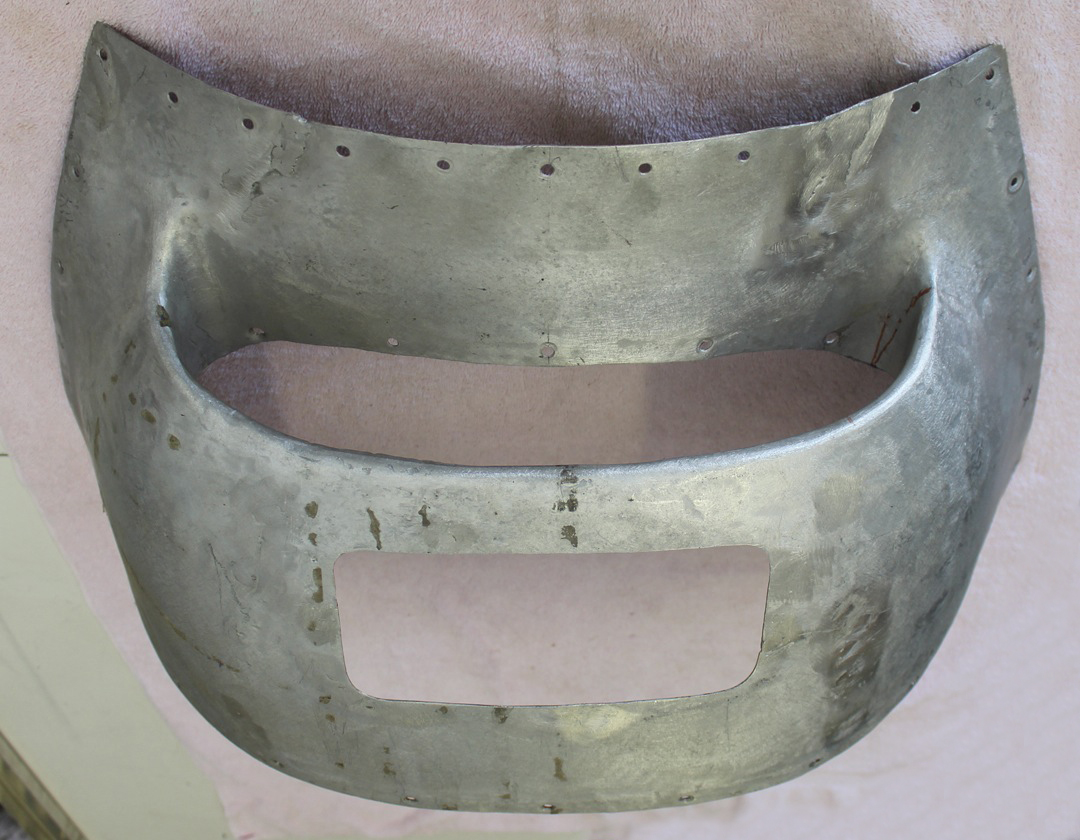
The last two complicated jobs to complete firewall forward are the fitting and mounting of each carb air temperature control mechanism and rebuilding the forward air induction intake scoops. The project has one example that suffered extreme damaged due to years of rough ground handing. The team has pressed it out close enough to its original shape to verify what it looked like and to get some measurements from the reformed piece. Two new examples will have to be made as the original is sadly too damaged to save. Thankfully, the existing XP-82 plans that the restoration team owns, coupled with the original, semi-straightened intake in their possession, will allow this to happen.
Ammunition Feed Chutes and Motors
Tom Reilly recovered a partial set of ammo feed chutes with the mounted Hughes (as in Howard Hughes), electric .50 caliber feed motors at the Alaskan wreck site. All of these components received a lot of damage in the crash, but the restoration team has had no luck sourcing any replacement parts, so must do their best to save what they have.
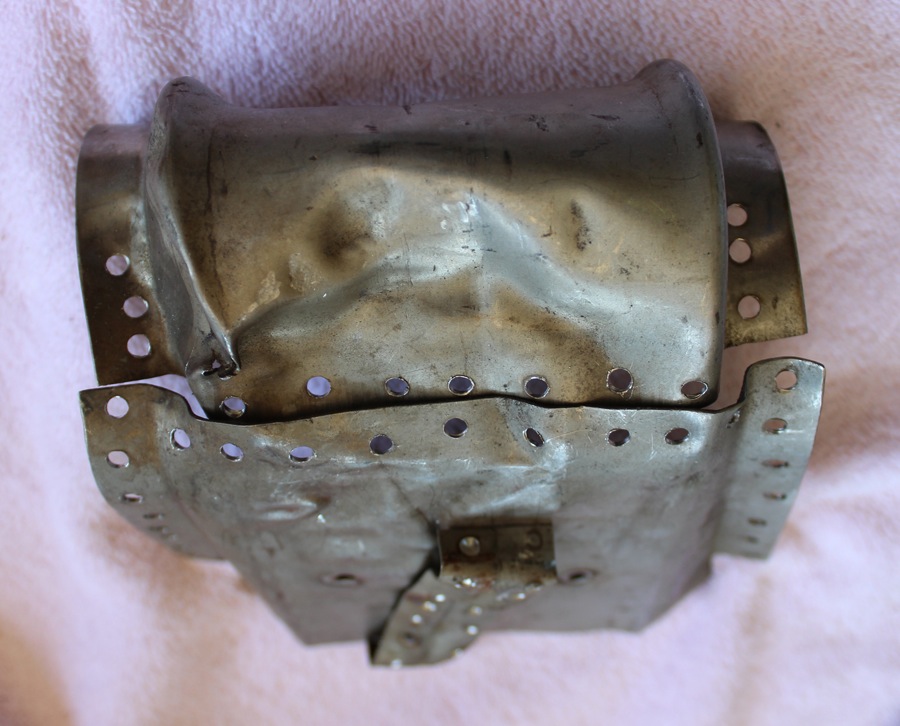
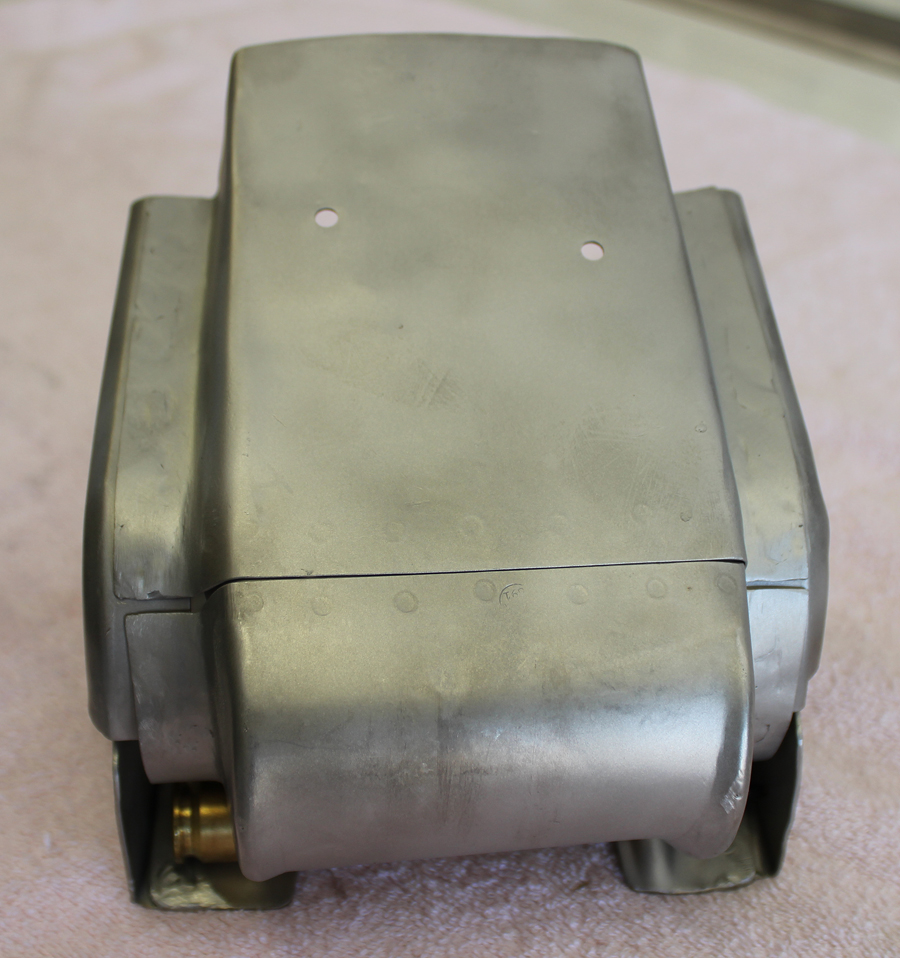
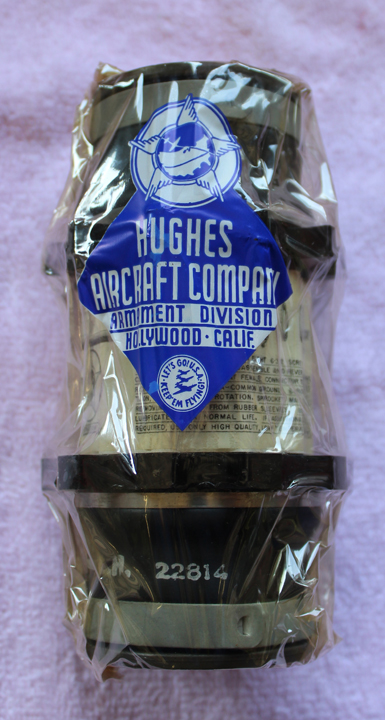
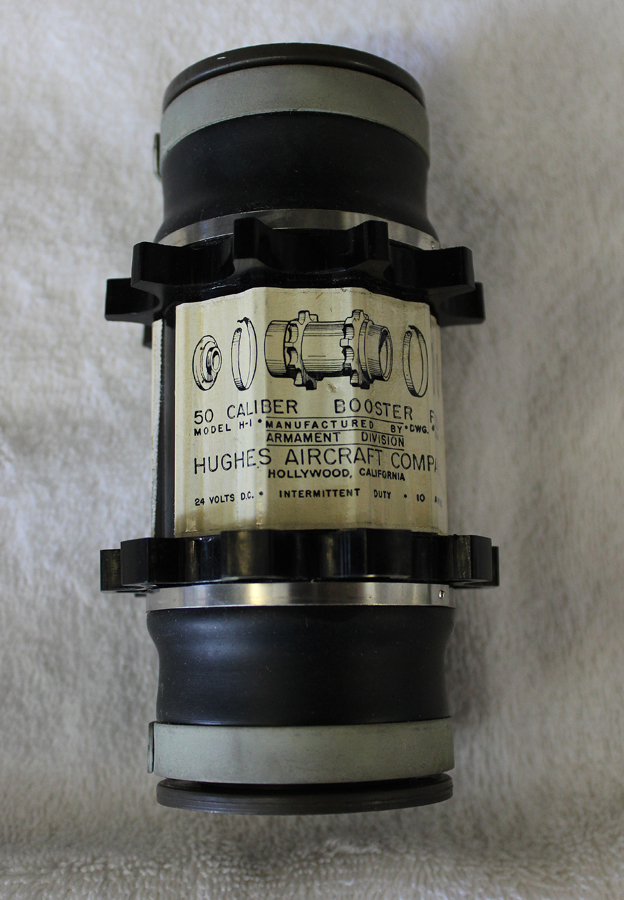
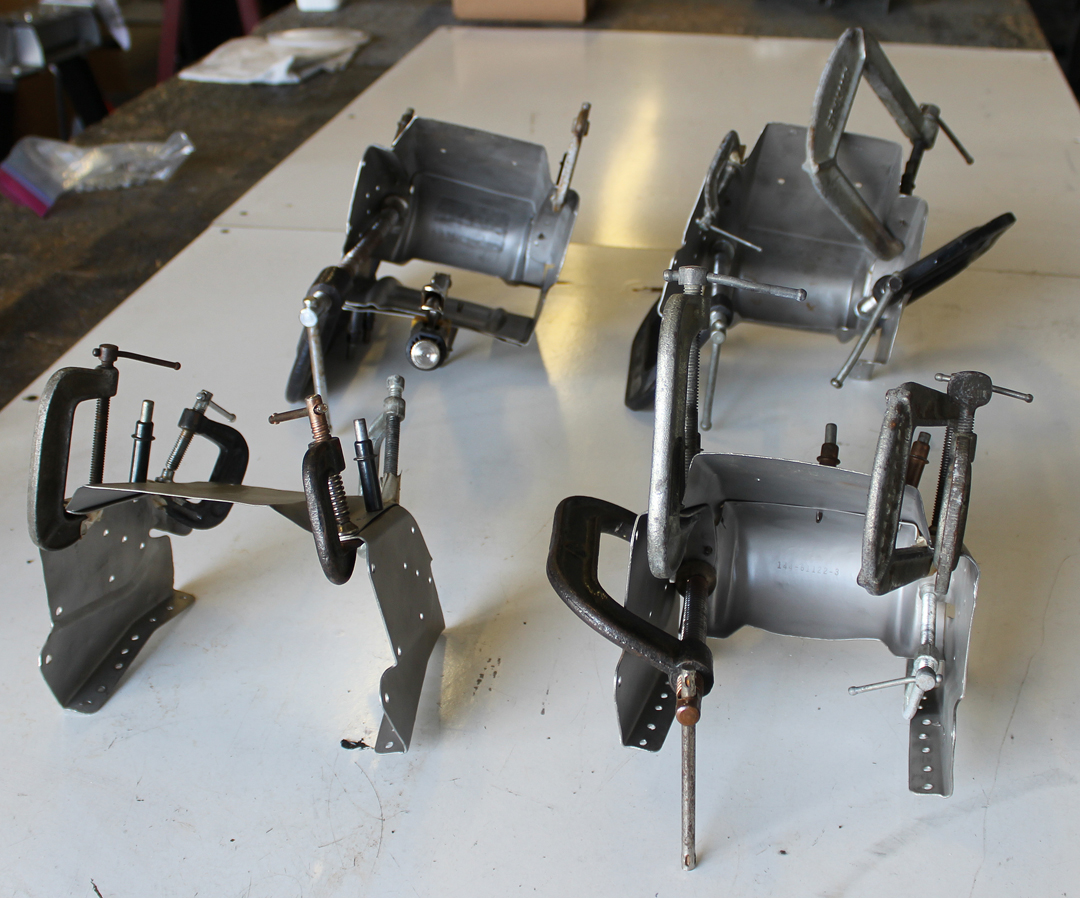
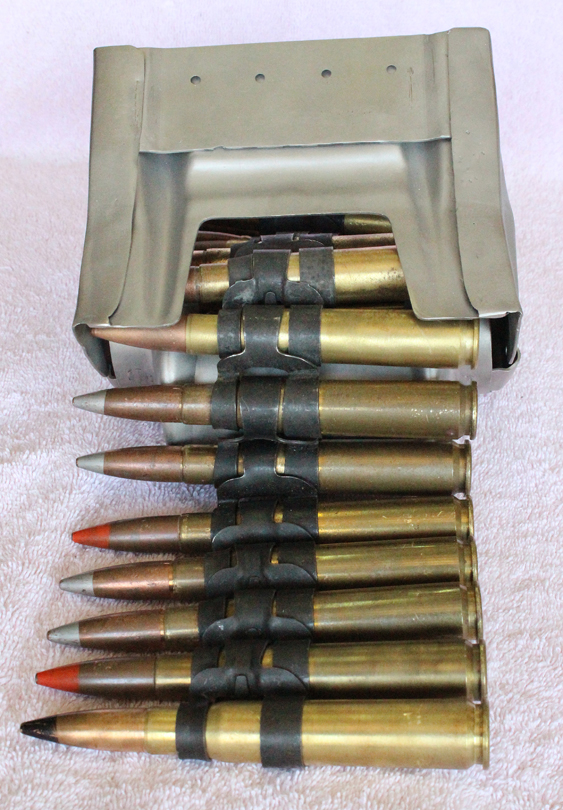
Originally, these motor ammo chutes were spot-welded together. The team had to fatigue-drill each spot-weld and disassemble each destroyed unit to press-straighten and Yoder Hammer each component and then refill each drill hole with stainless steel TIG weld and then weld each unit back together again. Thankfully, Tom Reilly was able to find some New Old Stock Hughes ammo drive motors at a surplus store, ET Supply, in downtown Los Angeles, California. The project has new ammo chuting, and two team members are completing the armament installations.
Right-hand Firewall Stainless Dishpan
The pressing and forming of the right-hand dishpan has been a challenge. It somewhat resembles a rectangular kitchen sink. When this dishpan is completed and installed, both oil tanks and heat exchangers (oil coolers) can be mounted and attached to their respective oil and coolant tubes.
Fuselage Closeout Access Panels
One team member has completed the final detail fitting of every access panel on both fuselages and center section. These flush panels required precise edge-fitting as they are flushmounted with the fuselage skins. This involved a lot of detail sanding to maintain a .030″ edge dimension, with a number of panels going into the scrap aluminum bin when the edge distance exceeded that dimension.
Tail Wheel Assemblies
As mentioned last month, and not totally tongue in cheek, this work is 90% done… with another 90% to go! Reilly’s team has had to manufacture two new down-lock barrel stops as, over the years, the tail wheel stop mechanisms striking the barrels had elongated the .750″ barrels and the hat channel structure they mounted into. The fix involved buying a special .770″ reamer with which to ream out each barrel hole so that the new .770″ Outer Diameter barrels fit tightly in the precision-reamed structure. Both steering arms that attach to the top of each yoke are now installed, waiting for the machining of the two rudder control arms that are connected to the lower steering sectors mounted in each rear fuselage. When these two arms and one remaining sector are completed, they can be mounted and the final cables installed to complete the tail wheel steering.
With these tail wheel assemblies finally completed, and the tail wheel tires and wheels mounted, the XP-82 will be able to roll on its own wheels for the first time in 66 years.
And that’s all of the news for May, 2016!
———————————-
Many thanks again to Tom Reilly for the update! You can learn more about the project on their blog HERE. Please be sure to check back with WarbirdsNews in July for the next installment in the story following the XP-82′s road to recovery!


you guys r doing a wonderful job !!! Keep it up / wish I was there !
Tom and his crew are magicians.;..miraculous what they have done to those wrecked parts
Been following this restoration for a couple of years now and really pleased to see it progressing so well. Always nice to have different warbirds represented and hopefully one day may see it in the UK.
You have got superb knowlwdge here